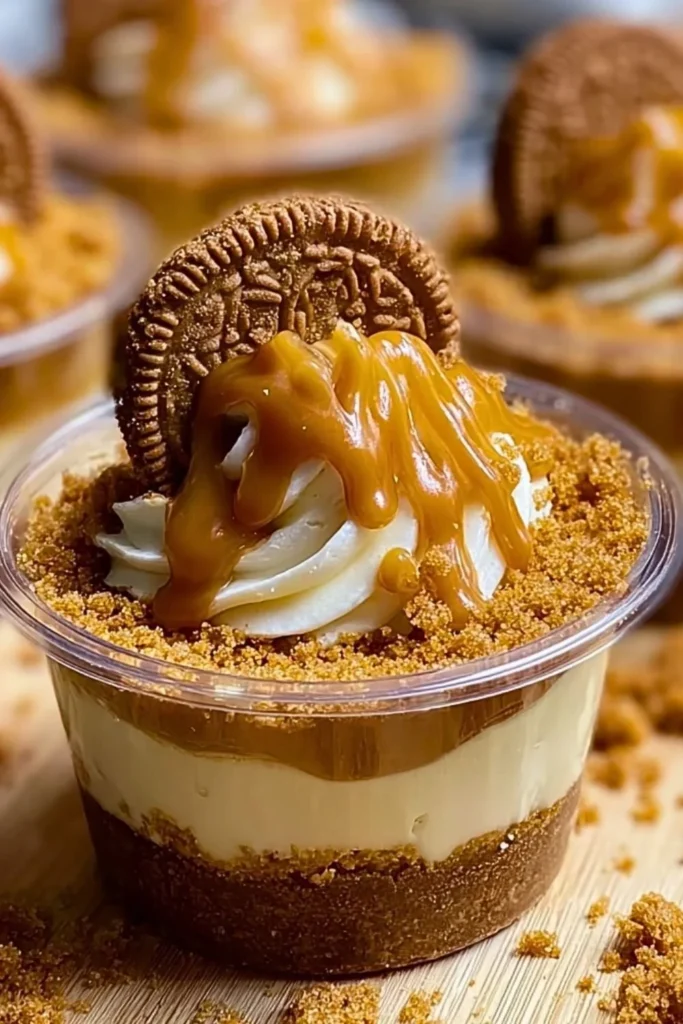
Homemade Christmas Candies are the perfect festive treat that combines simplicity with delightful flavors. These sweet confections not only satisfy your sweet tooth but also make for thoughtful gifts during the holiday season. Imagine the joy on your loved ones’ faces when they open a box of these homemade delights! Plus, making them yourself adds a personal touch that store-bought candies simply can’t match.
Why Make This Homemade Christmas Candies
Making Homemade Christmas Candies allows you to share a little holiday cheer with family and friends. They’re sweet, creamy, and incredibly delicious, making them a festive staple. Crafting these candies is an enjoyable process that can be done solo or with loved ones. Not only do you get to savor their wonderful taste, but you also have the chance to experiment with different flavors and decorations to make them your own.
How to Make Homemade Christmas Candies
Creating these candies is straightforward and rewarding. You only need a few ingredients and some patience while the mixture cooks to the right temperature. This recipe allows you to savor the traditional flavors of Christmas and enjoy the process of making something special from scratch.
Ingredients:
- 2 cups of granulated sugar
- 1 cup of light corn syrup
- 1 cup of heavy cream
- 1 teaspoon of vanilla extract
- Chocolate chips (for dipping)
- Sprinkles (for decoration)
Directions:
- In a saucepan, combine the sugar, corn syrup, and heavy cream. Cook over medium heat, stirring until the sugar has dissolved completely.
- Continue to cook the mixture without stirring until it reaches a soft ball stage, which is between 235°F to 240°F. Use a candy thermometer for accuracy to ensure the perfect texture.
- Remove the saucepan from heat and stir in the vanilla extract, releasing a warm and inviting aroma.
- Let the mixture cool slightly before pouring it into a greased 9×13 inch pan. Spread it evenly for uniform thickness.
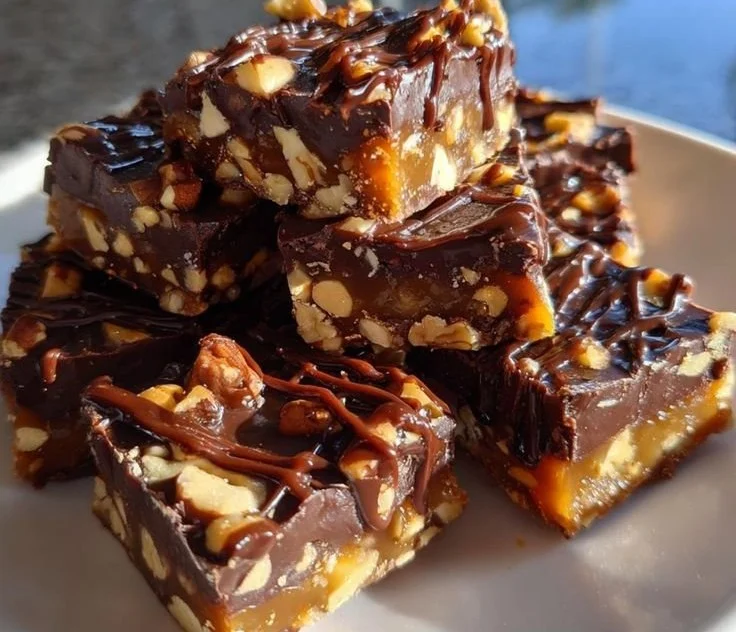
- Once set, cut the cooled mixture into squares or fun shapes, inviting a bit of creativity into your presentation.
- Dip the pieces in melted chocolate, allowing the excess to drip off, and decorate with colorful sprinkles if desired.
- Let cool completely before packaging these delightful treats as gifts.
Nutritional Information
Per serving (1 square, approximately 1 inch):
- Calories: 150
- Total Fat: 6g
- Saturated Fat: 3.5g
- Cholesterol: 15mg
- Sodium: 5mg
- Total Carbohydrates: 23g
- Dietary Fiber: 0g
- Sugars: 21g
- Protein: 1g
How to Serve Homemade Christmas Candies
Serving these candies can be as festive as the recipe itself! Present them in decorative boxes or tins as gifts for friends, family, or coworkers. They also make great treats at holiday parties, where their colorful sprinkles and chocolate coating can brighten any dessert table.
How to Store Homemade Christmas Candies
To keep your Homemade Christmas Candies fresh, store them in an airtight container at room temperature. They should last for about 1-2 weeks, making them a great prepared treat for the holiday season. If you want to keep them longer, consider refrigeration, where they can last up to a month.
Expert Tips for Perfect Homemade Christmas Candies
- Temperature Accuracy: Use a careful candy thermometer to check the temperature, ensuring the mixture reaches the soft ball stage for the best texture.
- Cooling: Allow your mixture to cool for at least 15 minutes before cutting. This helps the candies set properly and makes cutting easier.
- Chocolate Dipping: When melting chocolate chips, do so slowly over low heat or in a microwave in short bursts to avoid burning.
Delicious Variations
Feel free to customize your Homemade Christmas Candies! Consider these variations:
- Flavor Infusions: Add peppermint extract or almond extract for a different flavor profile.
- Nutty Touch: Mix in chopped nuts like pecans or walnuts before pouring the mixture into the pan for added texture and flavor.
- Seasonal Additions: Swap sprinkles for crushed candy canes or colored sugars to enhance the festive look during Christmas.
Frequently Asked Questions
-
Can I use a substitute for corn syrup? Yes, you can use honey or agave syrup as an alternative, though this may slightly affect the taste and texture of your candies.
-
What happens if I overcook the mixture? Overcooking can result in hard candies instead of a soft, chewy texture. Always keep an eye on the thermometer.
-
How can I make these candies dairy-free? Substitute the heavy cream with a dairy-free alternative, like coconut cream, to still achieve a creamy texture without dairy.
-
Can I freeze Homemade Christmas Candies? Yes, you can freeze them! Just layer them with parchment paper in a freezer-safe container. They can last up to 2-3 months in the freezer.
-
How do I know when the candies are set? They are set when they are firm to the touch but still slightly soft. You can test by lightly pressing a piece; it should hold its shape but give just a little.
-
What if I don’t have a candy thermometer? If you don’t have a thermometer, perform the cold water test: drop a small amount of the mixture into cold water. If it forms a soft ball, it’s ready!
-
Can I add food coloring to the chocolate? Yes! You can add chocolate-safe food coloring to your melted chocolate for colorful dipping.
-
What type of chocolate is best for dipping? Use dark, milk, or white chocolate chips, depending on your personal preference; each will give a unique flavor and color to your candies.
-
Are there any nut-free options? Absolutely! Omit nuts entirely, or choose nut-free sprinkles and chocolates to accommodate allergies.
-
How can I make the presentation more festive? Use holiday-themed containers for gifts or decorate the candies with festive ribbons or tags for an added touch of cheer.
Conclusion
These Homemade Christmas Candies are a wonderful way to blend your creativity with festive flavors. They are perfect for gifting and celebrating the holiday season. With easy-to-follow steps and simple ingredients, you’ll have delightful candies that everyone will love. So gather your ingredients, put on some holiday music, and enjoy making these sweet treats. You’ll be glad you did—and so will everyone who receives them! Happy candy-making!